

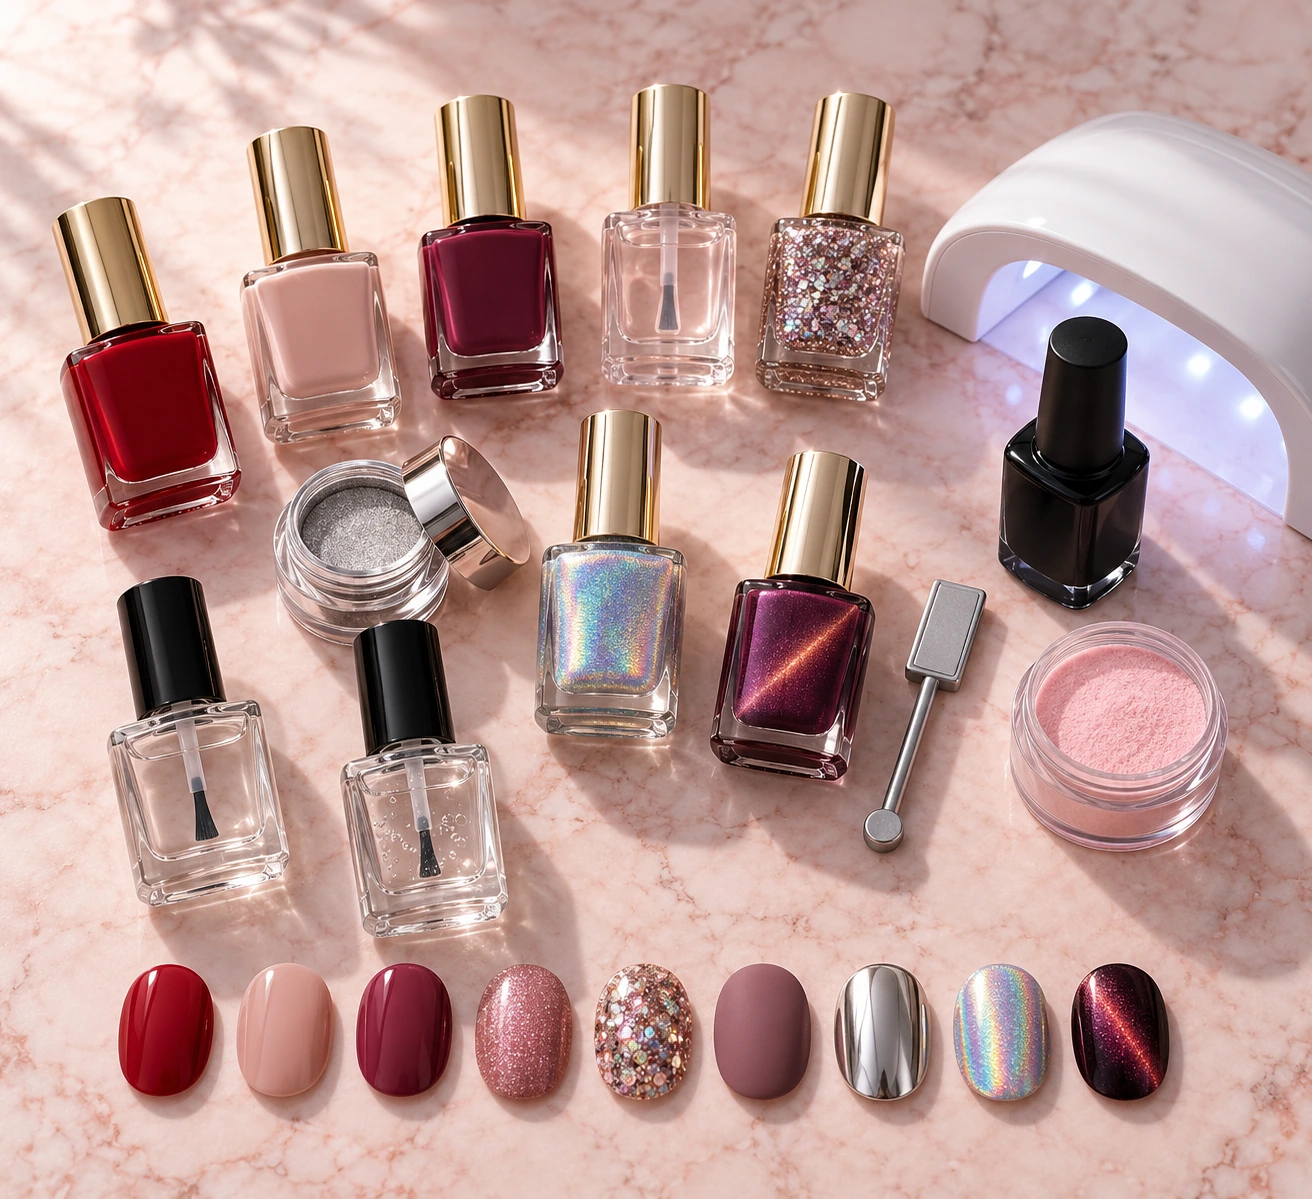
There are 27 main types of nail polish, and they fit into three simple groups. The first group is formula, which is how the polish goes on, dries and comes off. The second group is finish, which is how the polish looks on your nails. The third group is coats and treatments, which protect your nails and help your color last.
Most people only know regular polish and gel. But walk into any salon or beauty store today and you will see dip powder, builder gel, chrome, cat-eye and many more. It is easy to feel lost.
This guide explains every type in plain words. For each one, you will learn what it is, how long it lasts, how to take it off, and who it is best for. We compared every type on the things that matter most in real life: wear time, the tools you need, how hard it is to use at home, and how gentle it is on your nails.
☰ Jump to a section15 sections
- All 27 Types of Nail Polish at a Glance
- How Long Does Each Type of Nail Polish Last?
- Nail Polish Formulas Compared
- Part 1: Types of Nail Polish by Formula
- Part 2: Types of Nail Polish by Finish
- Part 3: Base Coats, Top Coats and Nail Treatments
- Regular vs. Gel vs. Dip Powder vs. Builder Gel
- How to Choose the Right Type of Nail Polish
- How to Remove Each Type of Nail Polish
- Is Nail Polish Safe? What You Should Know
- How to Make Any Nail Polish Last Longer
- Common Nail Polish Mistakes to Avoid
- Frequently Asked Questions About Types of Nail Polish
- Final Thoughts
- Sources
Key Takeaways
- Every polish has a formula and a finish. Gel is a formula. Chrome is a finish. You can have chrome gel, glitter regular polish, matte dip powder and so on.
- Regular polish is the easiest to use. It needs no lamp and comes off in seconds, but it usually lasts only 5 to 7 days.
- Builder gel and dip powder last the longest. Both can stay on for 3 to 4 weeks on well-prepared nails.
- Gel, builder gel and polygel need a UV or LED lamp. Dip powder and regular polish do not.
- Gel products are safe when used the right way. Keep uncured gel off your skin, cure it fully, and protect your hands from the lamp light.
All 27 Types of Nail Polish at a Glance
Here is the full list in one place. Use it as a map for the rest of the guide.
| Group | Types | What the group tells you |
|---|---|---|
| Formulas (1 to 11) | Regular, quick-dry, long-wear, breathable, water-based and peel-off, clean (X-free), gel, HEMA-free and TPO-free gel, builder gel, dip powder, polygel | How it goes on, how it dries or hardens, how long it lasts and how you remove it |
| Finishes (12 to 23) | Crème, jelly, shimmer, glitter, metallic and foil, chrome, holographic, duochrome, matte, cat-eye, thermal, glow-in-the-dark | What your nails look like when you are done |
| Coats and treatments (24 to 27) | Base coat, top coat, ridge filler, nail strengthener | How you protect the nail and the color |
How Long Does Each Type of Nail Polish Last?
Wear time is the biggest difference between polish formulas. This chart shows how long each one usually lasts before it chips, lifts or grows out too much.
| Water-based and peel-off |
2 to 4 days
|
| Quick-dry polish |
3 to 5 days
|
| Regular polish |
5 to 7 days
|
| Breathable polish |
7 to 10 days
|
| Long-wear polish |
7 to 10 days
|
| Gel polish |
2 to 3 weeks
|
| Polygel |
2 to 3 weeks
|
| Dip powder |
3 to 4 weeks
|
| Builder gel |
3 to 4 weeks
|
These times are for healthy nails with good prep. Your own results can be shorter if you type a lot, wash dishes without gloves, or use your nails as tools.
Nail Polish Formulas Compared
This table puts all 11 formulas side by side. It is the fastest way to see which ones fit your life.
| Formula | Lamp needed? | Lasts about | How to remove | Easy at home? |
|---|---|---|---|---|
| Regular | No | 5 to 7 days | Nail polish remover | Very easy |
| Quick-dry | No | 3 to 5 days | Nail polish remover | Very easy |
| Long-wear | No | 7 to 10 days | Nail polish remover | Very easy |
| Breathable | No | 7 to 10 days | Nail polish remover | Very easy |
| Water-based and peel-off | No | 2 to 4 days | Peel off or wash off | Very easy |
| Clean (X-free) | No | 5 to 7 days | Nail polish remover | Very easy |
| Gel | Yes | 2 to 3 weeks | Acetone soak | Medium |
| HEMA-free and TPO-free gel | Yes | 2 to 3 weeks | Acetone soak | Medium |
| Builder gel | Yes | 3 to 4 weeks | File and soak | Harder |
| Dip powder | No | 3 to 4 weeks | File and soak | Medium |
| Polygel | Yes | 2 to 3 weeks | File and soak | Harder |
Try the free Nail Color Matcher
See which polish colors suit your skin tone. Free, no sign-up.
Part 1: Types of Nail Polish by Formula
The formula decides almost everything about your manicure. It decides how long you wait for it to dry, how many days it lasts, and how much work it takes to remove. Let’s go through each one.
1. Regular Nail Polish


Regular nail polish is the classic polish in a small glass bottle. You paint it on, and it dries in the air. No lamp, no special tools. This is the type most people grew up with.
It works in a simple way. The liquid inside the bottle is color mixed with a fast-drying liquid. When you paint it on, that liquid floats away into the air, and the color stays behind as a thin, hard layer.
| Dries by | Air |
| Lasts | 5 to 7 days |
| Removal | Wipe off with nail polish remover |
| Tools needed | Just the bottle, plus a base coat and top coat |
| Skill level | Beginner |
Pros
- Cheap and easy to find in any store
- Comes in the most colors and finishes of any formula
- Removes in seconds, so you can change colors often
- Gentle on nails because there is no soaking or filing
Cons
- Chips faster than every salon formula
- Can smudge if you touch something before it is dry
- Takes several hours to become fully hard, even when it feels dry
Best for: people who like to change their color every week, beginners, and anyone who wants a gentle, no-fuss manicure.
Pro tip: Two thin coats always look better and last longer than one thick coat. Thick coats stay soft underneath and dent easily.
2. Quick-Dry Nail Polish


Quick-dry nail polish is a regular polish made to dry much faster. It uses liquids that leave the polish very quickly, so the surface feels dry in a few minutes instead of 15 or 20.
There is a trade-off. Because it dries so fast, the layer is often thinner and less flexible. That means quick-dry polish usually chips sooner than regular polish.
| Dries by | Air, very fast |
| Lasts | 3 to 5 days |
| Removal | Nail polish remover |
| Tools needed | Just the bottle |
| Skill level | Beginner, but you must work fast |
Pros
- Great when you are short on time
- Less waiting means fewer smudges
- Often only needs one coat
Cons
- Shorter wear time
- Gets thick in the bottle quickly, so close the cap between nails
- Streaks easily if you go back over a spot that has started to dry
Best for: busy mornings, last-minute events, and kids who cannot sit still.
Pro tip: Paint each nail in three strokes: one down the middle, then one on each side. Do not go back and fix it, because the polish is already setting.
3. Long-Wear Nail Polish (Gel-Effect Polish)
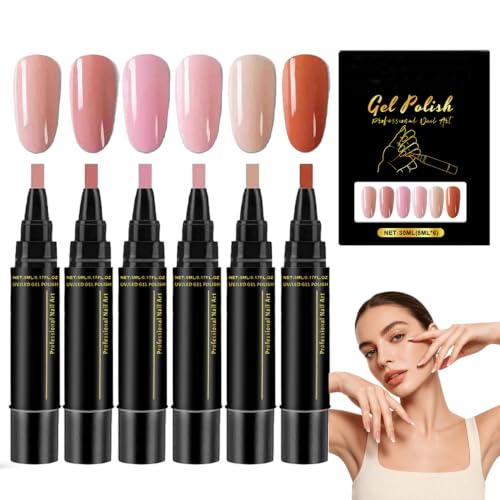


Long-wear polish gives you a shiny, gel-like look without a lamp. Most long-wear systems come in two steps: a color coat and a special top coat. The top coat hardens in natural light and adds a thick, glossy layer.
It sits between regular polish and real gel. It lasts longer than regular polish, but it still comes off with normal remover.
| Dries by | Air and natural light |
| Lasts | 7 to 10 days |
| Removal | Nail polish remover |
| Tools needed | Color coat and matching top coat |
| Skill level | Beginner |
Pros
- Shiny, plump look similar to gel
- No lamp and no acetone soak
- Lasts a few extra days compared with regular polish
Cons
- Does not last as long as real gel
- Works best when you use the color and top coat from the same brand
- The thick top coat can take a while to fully set
Best for: people who love the gel look but do not want to buy a lamp or soak their nails in acetone.
4. Breathable Nail Polish
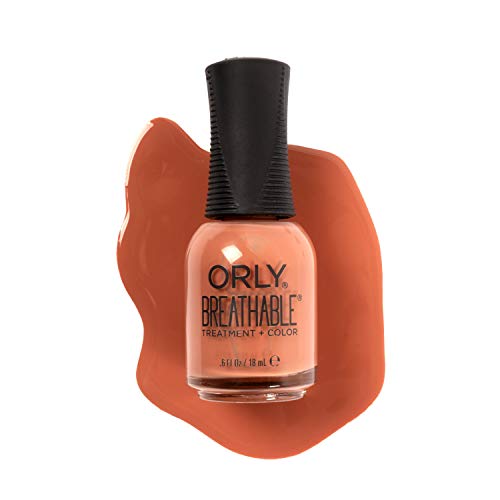
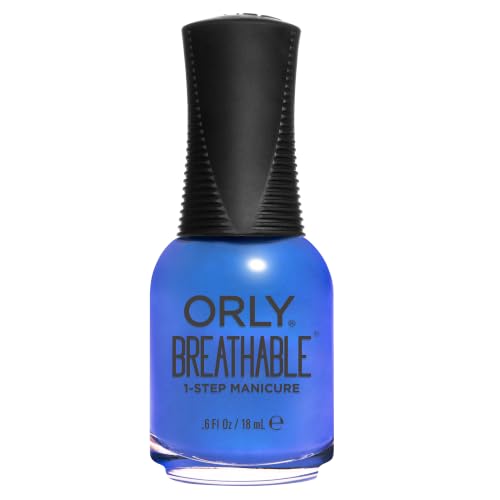
Breathable nail polish lets tiny amounts of air and water pass through the color to the nail. Regular polish acts like a sealed wall. Breathable polish acts more like a very fine screen.
Here is the truth: your nails do not need to breathe. Nails get what they need from the blood under the nail bed, not from the air. But breathable polish is still a nice option. The layer is more flexible, so it chips less, and some people feel their nails stay less dry.
Many Muslim women also choose breathable polish because water can reach the nail during wudu, the washing done before prayer. Scholars have different views on this, so ask a local scholar you trust if it matters to you.
| Dries by | Air |
| Lasts | 7 to 10 days |
| Removal | Nail polish remover |
| Tools needed | Just the bottle (many are made to use without a base coat) |
| Skill level | Beginner |
Pros
- Flexible layer that chips less than regular polish
- Gentle and easy to remove
- A kind choice for dry or weak nails
Cons
- Fewer colors than regular polish
- Usually costs a bit more
- Adding a normal base coat or top coat can block the breathable effect
Best for: people who want a gentle, everyday polish and anyone who prefers water-permeable formulas.
5. Water-Based and Peel-Off Nail Polish
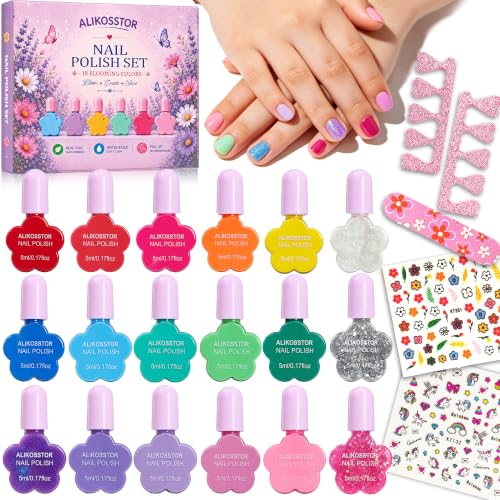
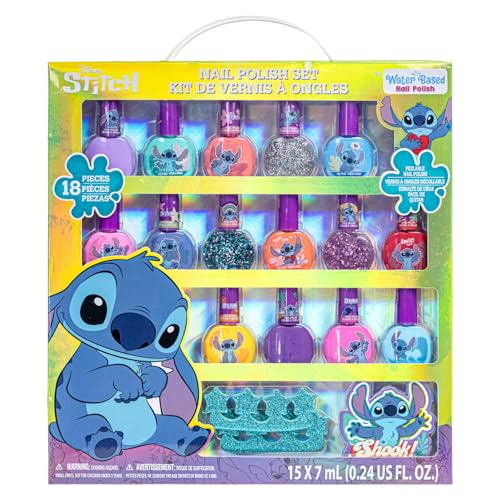
Water-based nail polish uses water instead of strong chemical liquids to carry the color. It has very little smell. Many water-based polishes are also peel-off, which means you lift the edge and pull the whole layer away. No remover needed.
This is the most popular choice for young kids. It is also handy for adults who want color for one day or one party.
| Dries by | Air |
| Lasts | 2 to 4 days |
| Removal | Peel off, or wash off with warm water and soap for some kids’ formulas |
| Tools needed | Just the bottle |
| Skill level | Beginner |
Pros
- Very low smell
- No harsh remover needed
- Good for kids, quick events, and anyone who dislikes strong smells
Cons
- Shortest wear time of any formula
- Can peel off by itself in the shower
- Colors can look less bold
Best for: kids, sleepovers, one-day looks, and anyone who hates the smell of regular polish.
Pro tip: You can turn almost any regular polish into a peel-off manicure by using a peel-off base coat underneath it.
6. Clean Nail Polish (“X-Free” Polish)

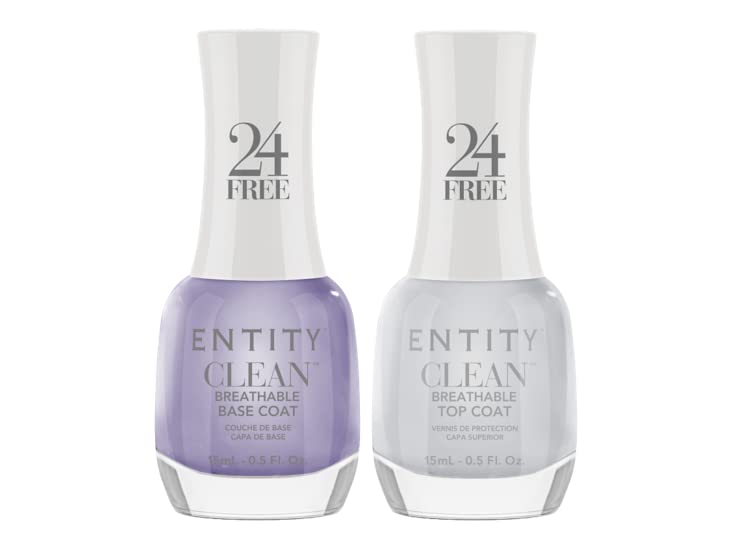
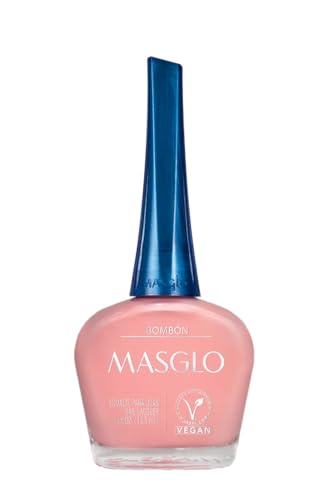
Clean nail polish is regular polish made without certain chemicals. You will see labels like 3-free, 5-free, 10-free or 21-free. The number tells you how many chemicals the brand chose to leave out.
Here is what the most common labels usually mean:
| Label | What it usually leaves out |
|---|---|
| 3-free | Formaldehyde, toluene and DBP (often called the “toxic trio”) |
| 5-free | The three above, plus formaldehyde resin and camphor |
| 7-free and higher | The five above, plus more, such as TPHP, xylene and parabens |
| 10-free, 16-free, 21-free | Longer lists that each brand chooses for itself |
There is no official rule for these labels. One brand’s “10-free” list can be different from another brand’s. If you want to know exactly what is left out, check the brand’s website for its full list. The FDA’s nail care products page explains the most common of these ingredients.
| Dries by | Air |
| Lasts | 5 to 7 days, about the same as regular polish |
| Removal | Nail polish remover |
| Skill level | Beginner |
Pros
- Leaves out ingredients many people prefer to avoid
- Often vegan and cruelty-free too
- Wears about the same as regular polish
Cons
- A higher number does not always mean a safer or better polish
- Usually costs more
Best for: anyone who reads labels and wants simpler ingredients in their polish.
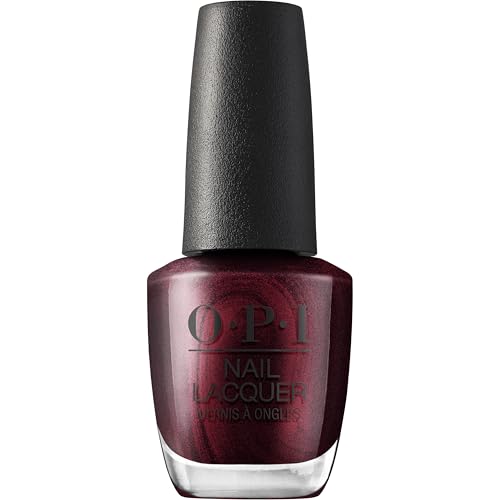
7. Gel Nail Polish

Gel nail polish is a thick, shiny polish that hardens under a UV or LED lamp. It stays wet until you put your hand under the light. Then it turns hard in seconds.
The light starts a reaction that links the tiny pieces of the gel together into a tough, shiny layer. This is called “curing.” Most LED lamps cure each coat in about 30 to 60 seconds. Older UV lamps take about 2 minutes.
A gel manicure has several layers:
- Gel base coat, cured
- Two thin coats of gel color, each one cured
- Gel top coat, cured
- A quick wipe with alcohol if your top coat leaves a sticky layer
| Hardens by | UV or LED lamp |
| Lasts | 2 to 3 weeks |
| Removal | File off the shiny top, then soak in acetone for about 10 to 15 minutes |
| Tools needed | Lamp, gel base coat, gel color, gel top coat, file, acetone |
| Skill level | Medium |
Pros
- Very shiny and stays shiny for weeks
- Dry the second you take your hand out of the lamp
- Does not chip easily
Cons
- Needs a lamp and more steps
- Removal takes time, and peeling it off hurts your nails
- Can cause skin allergies if uncured gel touches your skin again and again
Best for: holidays, weddings, travel, and anyone who wants chip-free color for two weeks or more.
Pro tip: Never peel or pick off gel. It pulls away the top layers of your natural nail and leaves them thin and weak. Always soak it off.
8. HEMA-Free and TPO-Free Gel Polish

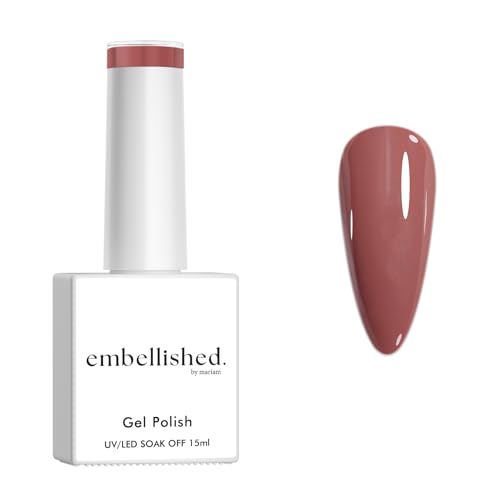
HEMA-free and TPO-free gels are gel polishes made without two ingredients that have raised health questions. They work the same way as regular gel. You still need a lamp, and they last about as long.
What is HEMA? HEMA is an ingredient that helps gel stick to the nail. It is also the most common cause of gel nail allergies. The British Association of Dermatologists has warned about a steep rise in these allergies, especially from at-home kits. The allergy usually builds up slowly after uncured gel touches the skin many times. Once you are allergic, it often lasts for life. Signs include itching, redness, swelling or small blisters around your nails.
What is TPO? TPO is an ingredient that helps gel harden under the lamp. The European Union banned TPO in nail products starting September 1, 2025, based on animal studies. It is not banned in the United States, and the UK is expected to follow Europe in the next few years. Many brands around the world have already switched to TPO-free formulas.
| Hardens by | UV or LED lamp |
| Lasts | 2 to 3 weeks |
| Removal | Acetone soak |
| Skill level | Medium |
Pros
- Lower risk of allergy compared with gels that contain HEMA
- Good choice if you already react to regular gel
- Meets EU rules if it is TPO-free
Cons
- Fewer colors and brands to choose from
- Usually costs more
- “HEMA-free” does not mean allergy-free. Other similar ingredients can still cause reactions in some people.
Best for: people with sensitive skin, nail techs who work with gel every day, and anyone living in Europe.
9. Builder Gel (BIAB)
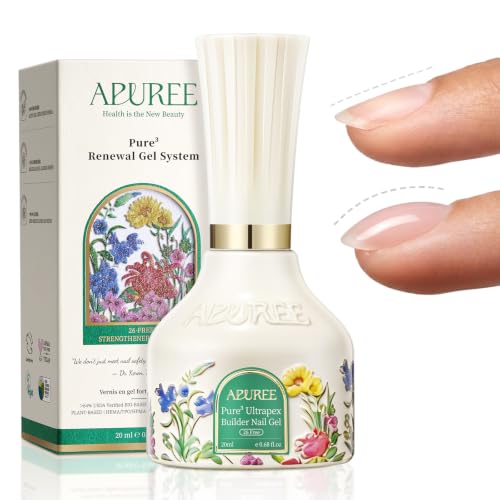
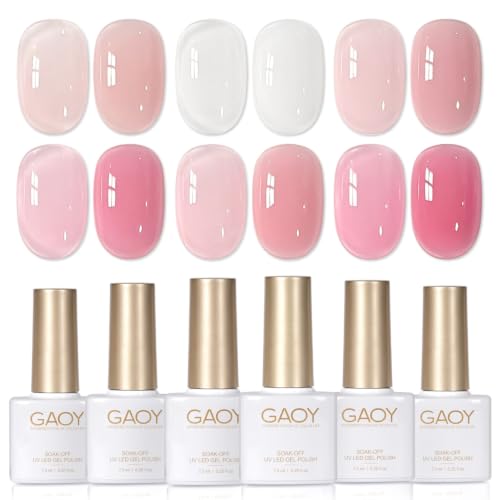
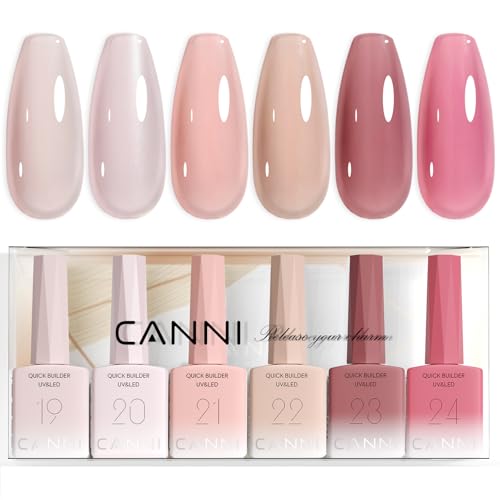
Builder gel is a thicker gel that adds strength to your natural nails. You may know it as BIAB, which stands for “Builder in a Bottle.” It is painted on like gel polish, but it builds a stronger layer that helps weak nails grow without breaking.
Builder gel is not just color. It gives the nail a smooth, strong shape. It can also add a little length. Many builder gels come in clear, milky pink and nude shades, and you can paint gel color on top.
Builder gel is usually “infilled” instead of fully removed. At each visit, the tech files down most of the old gel, then adds fresh gel at the base where your nail has grown. This keeps your natural nail protected all the time.
| Hardens by | UV or LED lamp |
| Lasts | 3 to 4 weeks |
| Removal | File down, then soak, or infill instead of removing |
| Tools needed | Lamp, builder gel, files, acetone |
| Skill level | Harder. The shape takes practice. |
Pros
- One of the longest-lasting options
- Helps weak, bendy nails grow longer
- Smooth, natural-looking shape
Cons
- Harder to apply well at home
- Removal takes longer than gel polish
- Filing too much during removal can thin your nails
Best for: people with weak nails who want to grow them out, and anyone who wants a long-lasting natural look.
10. Dip Powder
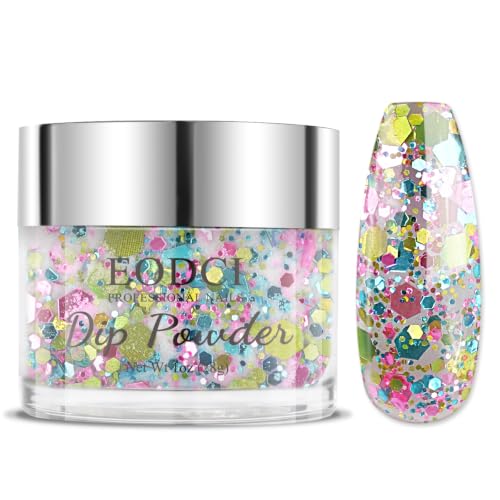
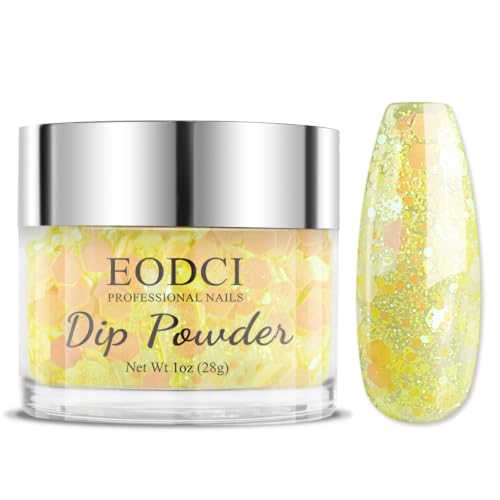
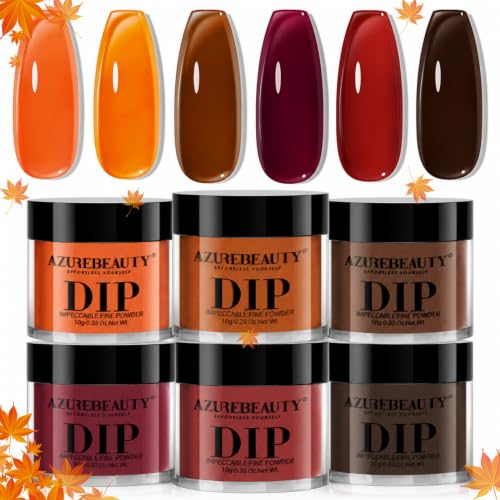
Dip powder is a colored powder that turns into a hard, long-lasting layer without a lamp. You paint a special base liquid on the nail, then dip the nail into powder or brush the powder on. You repeat this a few times, then seal it with an activator and a top coat.
The activator is the magic part. It makes the powder and base harden together into a strong shell.
Here are the basic steps:
- Push back cuticles and buff the nail lightly
- Paint on the dip base
- Dip the nail into powder, then tap off the extra
- Repeat the base and dip two or three times
- Paint on the activator and let it dry
- File and smooth the shape
- Add a second coat of activator, then the top coat
| Hardens by | Activator liquid (no lamp) |
| Lasts | 3 to 4 weeks |
| Removal | File off the top, then soak in acetone for about 15 to 20 minutes |
| Tools needed | Dip kit (base, powder, activator, top coat), files, acetone |
| Skill level | Medium |
Pros
- Very strong and long-lasting
- No UV or LED lamp needed
- Great for people who are hard on their hands
Cons
- Can look thick if too many layers are used
- Removal is slow
- Shared powder jars at salons can spread germs
Best for: people who want long-lasting color without a lamp, and anyone who works with their hands.
Pro tip: At a salon, ask the tech to pour the powder over your nail from a small cup, or to use a fresh portion. This is cleaner than dipping into a jar that other clients have used.
11. Polygel

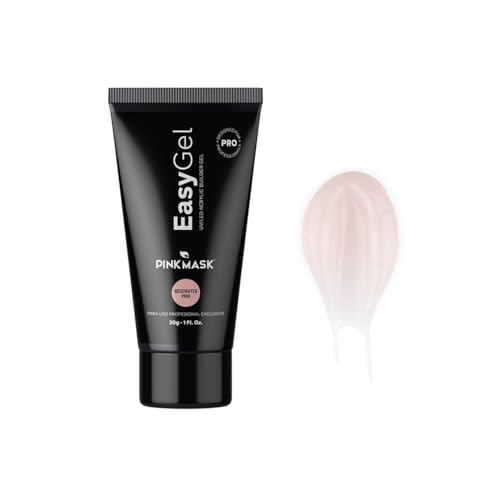
Polygel is a thick gel paste that you shape by hand and then harden under a lamp. It comes in a tube. You squeeze out a small ball, place it on the nail or on a nail form, and spread it into shape with a brush dipped in a special liquid called slip solution.
Polygel is a mix of acrylic and gel. It is strong like acrylic, but it does not have the strong smell, and it does not harden until you put it under the lamp. That gives you time to get the shape right.
| Hardens by | UV or LED lamp |
| Lasts | 2 to 3 weeks before a fill |
| Removal | Mostly filed down, then soaked |
| Tools needed | Lamp, polygel, slip solution, brush, nail forms or tips, files |
| Skill level | Harder |
Pros
- Can add real length to short nails
- Light and strong
- No strong smell
- Stays soft until you cure it, so beginners have time to fix mistakes
Cons
- Takes practice to shape well
- Removal is slow and needs a lot of filing
- Not really a color polish, so you still add color on top
Best for: people who want longer nails at home, and DIY fans who have already learned gel.
What about acrylic nails? Acrylics are not nail polish. They are nail enhancements made by mixing a liquid with a powder. The mix hardens in the air into a very strong layer that can add a lot of length. Acrylics last about 2 to 3 weeks before they need a fill. They have a strong smell and are best applied and removed by a trained tech. You then paint regular polish or gel on top.
Part 2: Types of Nail Polish by Finish
The finish is what people notice first. Two polishes can be the exact same pink, but one looks creamy and smooth while the other sparkles like a disco ball. Most finishes come in both regular polish and gel.
Here is a quick look at all 12 finishes before we go into each one.
| Finish | What it looks like | Difficulty | Best for |
|---|---|---|---|
| Crème | Solid, smooth color | Easy | Everyday and work |
| Jelly | See-through, glassy color | Easy | Soft, natural looks |
| Shimmer | Fine, soft sparkle | Easy | Evenings and holidays |
| Glitter | Big, visible sparkles | Medium | Parties and accent nails |
| Metallic and foil | Shiny like metal | Medium | Bold, dressy looks |
| Chrome | Mirror shine | Medium | Trendy, eye-catching nails |
| Holographic | Rainbow flashes | Medium | Fun looks in sunlight |
| Duochrome | Color shifts with the angle | Easy | Unique, magical looks |
| Matte | Flat, no shine | Easy | Modern, cozy looks |
| Cat-eye | A glowing band of light | Medium | Deep, velvety looks |
| Thermal | Changes color with heat | Easy | Fun and surprise |
| Glow-in-the-dark | Glows after light exposure | Easy | Halloween, concerts, kids |
12. Crème Nail Polish

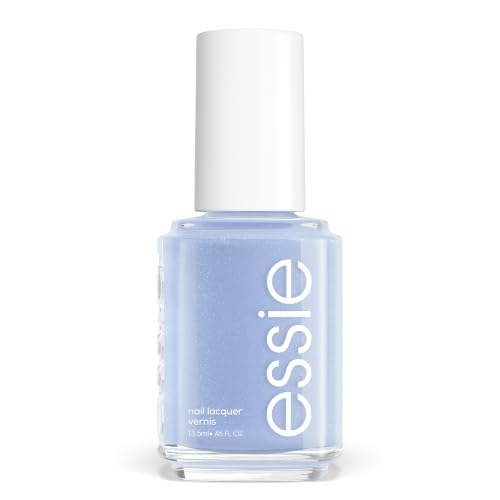
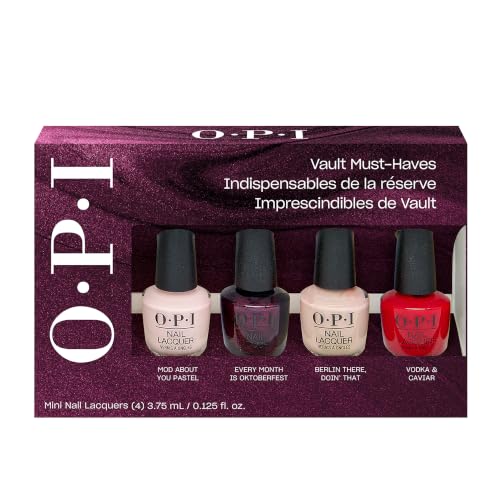
Crème polish is solid color with no sparkle, no shimmer and no see-through effect. It is the “plain” finish, and it is the most popular one in the world. A classic red or a soft nude is almost always a crème.
A good crème covers the nail fully in two coats. It has a smooth, glossy look once you add a top coat.
- How to use it well: Use thin coats and let each one dry for a couple of minutes. Streaks usually mean the coat was too thin or the brush was too dry.
- Best for: work, school, everyday wear and any nail art base.
13. Jelly Nail Polish


Jelly polish is see-through color. It looks like colored glass or a piece of jelly candy. You can still see a little of your natural nail through it.
Jelly polish is buildable. One coat looks soft and sheer. Three coats look deeper and richer. It is also great for layering, because you can paint jelly over glitter to make the glitter look like it is floating inside the color.
- How to use it well: Keep your coats even. Jellies show every thick or thin spot more than crèmes do.
- Best for: clean, natural looks, summer nails, and “glass” or “stained” nail trends.
14. Shimmer Nail Polish


Shimmer polish has very tiny sparkles mixed into the color. The sparkles are so small that they look like a soft glow, not like glitter. When you move your hand, the nails catch the light gently.
Shimmer is a great middle ground. It looks dressier than crème, but it is not as loud as glitter.
- How to use it well: Shimmer can show brush strokes. Use three smooth strokes per nail and a glossy top coat to even it out.
- Best for: evenings, holidays and anyone who wants a little sparkle.
15. Glitter Nail Polish
Glitter polish has larger sparkly pieces in it. Some glitters are packed with pieces and cover the whole nail. Others, called glitter toppers, have a clear base with just a few pieces, and you paint them over another color.
Glitter comes in many shapes, including fine dust, round dots, hexagons, stars and hearts.
- How to use it well: Dab the glitter on instead of brushing it. This places more pieces on the nail. Add a thick top coat so the surface feels smooth, not rough.
- Best for: parties, holidays, New Year’s Eve and accent nails.
Removal tip: Glitter is hard to remove with a normal wipe. Soak a cotton pad in remover, press it on the nail for about a minute, then slide it off in one move.
16. Metallic and Foil Nail Polish
Metallic polish looks like shiny metal, such as gold, silver, copper or bronze. Foil polish is very similar, but it has flat, flaky pieces that look like crinkled foil.
These finishes reflect a lot of light. That makes them look rich and bold, but it also means they show every bump on the nail.
- How to use it well: Use a ridge-filling base coat to make the nail smooth first. Paint in long, steady strokes, because metallics show brush marks easily.
- Best for: holiday nails, special events and anyone who loves a bold, luxe look.
17. Chrome Nail Polish
Chrome nails have a true mirror shine. The best chrome is not a polish at all. It is a very fine powder that you rub onto a cured gel top coat. The powder lays flat and reflects light like a mirror.
Chrome looks different depending on the color under it. Silver chrome over black looks like liquid metal. Pearl chrome over pale pink makes the popular “glazed donut” look.
Here is how chrome powder usually goes on:
- Finish a full gel manicure and cure it
- Add a “no-wipe” gel top coat and cure it
- Rub the chrome powder onto the nail with a small sponge or silicone tool
- Brush off the extra powder
- Seal it with another gel top coat and cure again
Some bottled polishes are sold as “chrome.” They look shiny and metallic, but they rarely give a real mirror effect.
- How to use it well: The top coat must be a no-wipe type. A sticky top coat makes the powder look cloudy.
- Best for: trendy looks, weddings, holidays and pearly everyday nails.
18. Holographic Nail Polish
Holographic polish shows rainbow colors when light hits it. It has tiny pieces that split light into all the colors of the rainbow, a bit like a prism. The effect is strongest in bright sunlight.
There are two main kinds:
| Kind | What you see |
|---|---|
| Linear holo | A smooth rainbow line that moves across the nail as you turn your hand |
| Scattered holo | Lots of small rainbow sparkles all over the nail |
- How to use it well: Use a special holo base coat if the brand recommends one. Some holo polishes do not stick well to regular base coats.
- Best for: fun, bright looks and anyone who loves nails that change in the light.
19. Duochrome and Multichrome Nail Polish
Duochrome polish changes color when you look at it from different angles. For example, a nail might look purple from the front and green from the side. Multichrome polish goes even further and shifts through three or more colors.
How is this different from holographic? Holographic shows the whole rainbow as sparkles or a line. Duochrome shifts the main color of the whole nail between a few set colors.
- How to use it well: Paint it over black for the strongest color shift. Over light colors, the effect looks softer.
- Best for: unique, magical looks, beetle-wing nails and Halloween.
20. Matte Nail Polish
Matte polish dries completely flat with no shine. It looks soft and velvety, like suede or the skin of a peach.
You can get a matte look in two ways:
- Buy a polish made to dry matte
- Paint any polish you like, then add a matte top coat
The matte top coat is the smarter buy. One bottle turns every polish you own into a matte version.
- How to use it well: Matte shows chips, oils and scratches more than shiny polish. Keep lotion off your nails and reapply the matte top coat every few days.
- Best for: dark fall colors, modern looks and nail art that mixes matte and glossy parts.
21. Cat-Eye (Magnetic) Nail Polish
Cat-eye polish has tiny metal pieces in it that move when you hold a magnet over the wet polish. The pieces gather into a bright band of light across the nail. It looks like the glowing eye of a cat, which is how it got its name.
Different magnet moves give different effects:
| Magnet move | Effect |
|---|---|
| Hold it straight above the middle | A classic thin line down the center |
| Hold it near one side | A diagonal band of light |
| Move it slowly around the nail | A soft, blurry “velvet” look |
| Hold it near the tip | A glowing tip, like a French manicure |
Most cat-eye polish today is gel. You hold the magnet over each nail for a few seconds, then cure it right away before the pieces settle.
- How to use it well: Work one nail at a time. If you wait too long before curing, the effect fades.
- Best for: velvet nails, holiday looks and anyone who wants depth without nail art skills.
22. Thermal (Color-Changing) Nail Polish
Thermal polish changes color with temperature. It shows one color when it is cold and a different color when it is warm.
Your fingertips are often cooler than the base of your nails. So thermal polish often shows two colors on the same nail, which looks like a built-in gradient. Dip your fingers in cold water and you can watch the color change.
- How to use it well: Thermal polish works best on longer nails, where the tip stays cooler and the change is easier to see.
- Best for: kids, fun gifts and anyone who likes a surprise.
23. Glow-in-the-Dark Nail Polish
Glow-in-the-dark polish soaks up light and then glows when the lights go off. The glow is brightest right after the nails have been in strong light, and it slowly fades after that.
Most glow polishes look pale or white in normal light. The fun happens in the dark, where they shine green, blue, pink or other colors.
- How to use it well: Paint it over white for the brightest glow. Hold your nails near a bright lamp or in sunlight for a minute to “charge” them.
- Best for: Halloween, concerts, parties and kids.
Part 3: Base Coats, Top Coats and Nail Treatments
These are the hidden heroes of every manicure. Skip them and even the best polish chips fast. Use them well and a cheap polish can last for days longer.
24. Base Coat


A base coat is a clear or lightly tinted layer that goes on before your color. It has two main jobs. First, it helps the polish stick to your nail. Second, it stops dark colors from staining your nails yellow.
There are several kinds of base coat:
- Sticky base coats grip the color and help it last longer
- Peel-off base coats let you lift your polish off without remover
- Strengthening base coats add extra care for weak nails
- Gel base coats are made for gel manicures and must be cured in the lamp
Important: Regular base coats and gel base coats do not mix. Always use a gel base under gel color and a regular base under regular polish.
25. Top Coat
A top coat is the clear layer that goes on last. It protects the color from chips and scratches and adds shine. Adding a fresh layer of top coat every two or three days can add days to your manicure.
| Top coat type | What it does |
|---|---|
| Glossy top coat | Adds shine and protection |
| Quick-dry top coat | Helps polish feel dry faster |
| Matte top coat | Turns any polish flat and velvety |
| Gel top coat (wipe) | Leaves a sticky layer you wipe off with alcohol after curing |
| Gel top coat (no-wipe) | Cures shiny with no sticky layer, and is needed for chrome powder |
26. Ridge Filler
A ridge filler is a thick base coat that smooths out bumps and lines on your nails. Many people have small ridges that run from the cuticle to the tip, and these become more common as we get older.
Ridge fillers are often milky pink or nude. Worn alone, they give a soft, clean look that hides small flaws. Under color, they make shiny finishes like metallic and chrome look much smoother.
Good to know: If one nail suddenly grows a deep ridge, a dark line or a big change in shape, see a doctor. Polish can hide these changes, and some need a check-up.
27. Nail Strengthener (Nail Treatment)
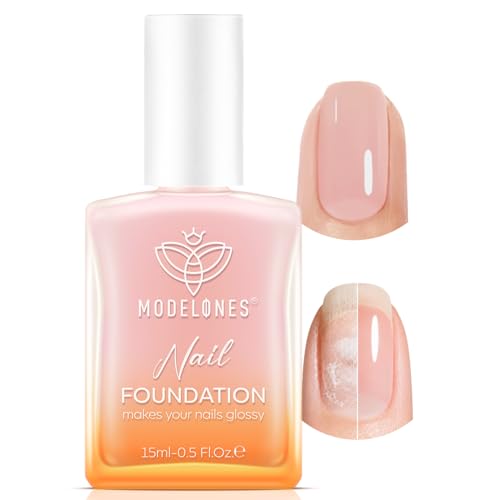
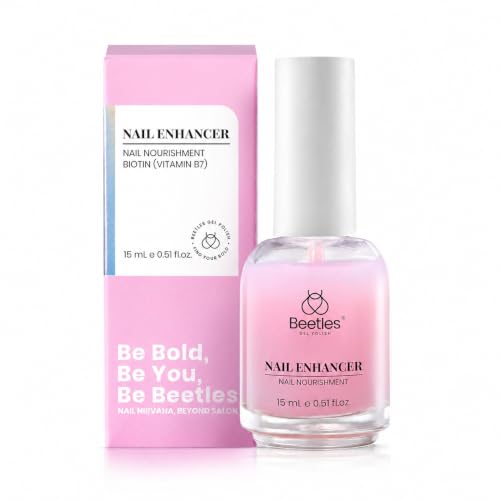

A nail strengthener is a clear treatment that helps weak, soft or peeling nails become harder. You paint it on like polish. Some are worn alone, and some go under color as a base coat.
Be careful with very strong hardeners. Some hardeners make nails stiff, and nails that are too stiff can snap instead of bending. Follow the directions on the label, and take breaks if your nails start to feel brittle.
Strengtheners work best with good habits:
- Rub cuticle oil into your nails every day
- Wear gloves when you wash dishes or clean
- File in one direction instead of sawing back and forth
- Keep your nails shorter while they recover
Regular vs. Gel vs. Dip Powder vs. Builder Gel
These four are the ones people ask about most. Here is how they compare on the things you care about.
| Regular | Gel | Dip powder | Builder gel | |
|---|---|---|---|---|
| Lasts | 5 to 7 days | 2 to 3 weeks | 3 to 4 weeks | 3 to 4 weeks |
| Dry time | 15 to 20 minutes to touch, hours to fully harden | Dry right after the lamp | Dry within minutes | Dry right after the lamp |
| Lamp | No | Yes | No | Yes |
| Removal time | About 1 minute | About 15 minutes | About 20 minutes | About 20 to 30 minutes |
| Strength | Low | Medium | High | High |
| Gentle on nails | Most gentle | Gentle if soaked off | Can thin nails if over-filed | Gentle with infills, rough if over-filed |
| Easy at home | Yes | With practice | With practice | Hardest |
In short: choose regular for easy changes, gel for shine that lasts, dip for strength without a lamp, and builder gel for growing out weak nails.
How to Choose the Right Type of Nail Polish
The best polish is the one that fits your life, not the one that is trending. Find your situation below.
| If this sounds like you | Try this | Why |
|---|---|---|
| “I change my color every week.” | Regular or quick-dry polish | Cheap, easy and quick to remove |
| “I need my nails to look good for 2 weeks or more.” | Gel polish | Stays shiny and chip-free for weeks |
| “I want long wear but no lamp.” | Dip powder | Hardens with a liquid, not a light |
| “My nails are weak and keep breaking.” | Builder gel or a nail strengthener | Adds support while nails grow |
| “I want longer nails.” | Polygel, or acrylics at a salon | Both can add real length |
| “I have sensitive skin.” | Clean regular polish, or HEMA-free gel | Fewer ingredients linked to reactions |
| “I want the gel look without the lamp.” | Long-wear polish | Glossy, thick look with normal removal |
| “It’s for my child.” | Water-based, peel-off polish | Low smell and no remover needed |
| “I’m a total beginner.” | Regular polish with a good base coat and top coat | Mistakes are easy to fix |
| “I’m on a tight budget.” | Regular polish plus a matte top coat | Two looks from every bottle you own |
Three Questions to Ask Yourself
- How long do I want it to last? Under a week means regular polish. Two weeks or more means gel, dip or builder gel.
- Will I do it at home or at a salon? Regular and long-wear polish are easy at home. Builder gel and polygel are easier at a salon until you have practiced.
- How healthy are my nails right now? Thin, peeling nails need a break or a strengthener before any long-wear system.
How to Remove Each Type of Nail Polish
Good removal protects your nails more than anything else. Most nail damage comes from picking, peeling or filing too hard, not from the polish itself.
| Type | How to remove it | Time |
|---|---|---|
| Regular, quick-dry, long-wear, breathable, clean | Press a cotton pad with remover on the nail for a few seconds, then wipe | About 1 minute per hand |
| Glitter polish | Hold a soaked cotton pad on each nail, then slide it off | About 3 to 5 minutes per hand |
| Peel-off polish | Lift the edge with a wooden stick and peel | Seconds |
| Gel polish | File off the shine, soak in acetone, then gently push off | About 15 minutes |
| Dip powder | File off the top layer, soak in acetone, push off softened layers | About 20 minutes |
| Builder gel and polygel | File down most of the product, then soak or infill | About 20 to 30 minutes |
How to Soak Off Gel or Dip Powder at Home
- Gently file the shiny top layer with a coarse file until it looks dull.
- Rub a little cuticle oil or petroleum jelly on the skin around your nails to protect it.
- Soak small cotton pads in 100% acetone.
- Place a pad on each nail and wrap the fingertip in foil.
- Wait 10 to 15 minutes for gel, or 15 to 20 minutes for dip powder.
- Remove one foil and gently push the softened product off with a wooden stick.
- If it does not slide off easily, wrap it again for a few more minutes. Never scrape hard.
- Wash your hands and rub in cuticle oil and hand cream.
Is Nail Polish Safe? What You Should Know
Nail polish is safe for most people when you use it the right way. The main things to watch are allergies from gel products, UV light from nail lamps, and damage from rough removal.
Gel Allergies
Gel, builder gel, polygel, dip powder and acrylics all contain ingredients called acrylates. When these are fully hardened, they are not a problem. The risk comes from the wet, uncured product touching your skin.
If uncured gel touches your skin again and again, your body can slowly become allergic. This can take months. Once it happens, the allergy usually lasts for life and can also affect some medical and dental treatments that use similar materials.
Watch for these signs:
- Itching or burning around the nails
- Red, swollen or blistered skin near the cuticles
- Nails that lift away from the nail bed
- A rash on your face, eyelids or neck from touching them
If you notice any of these, stop using gel products and see a dermatologist.
How to lower your risk:
- Keep gel off your skin and cuticles. Clean up mistakes before you cure.
- Use the lamp that your gel brand recommends, so the gel cures fully.
- Do not use cheap gels from unknown sellers.
- Consider HEMA-free gel if you have sensitive skin.
UV Nail Lamps
Nail lamps give off UV light, which can age the skin on your hands over time. A 2023 lab study in Nature Communications also found that light from UV nail dryers damaged DNA in human and mouse cells. The American Academy of Dermatology suggests two simple steps to protect your skin during gel manicures:
- Put on broad-spectrum, water-resistant sunscreen with SPF 30 or higher on your hands before the manicure.
- Or wear dark fingerless gloves that leave only your nails uncovered.
Dermatologists also suggest saving gel manicures for special times instead of back-to-back all year. You can read the American Academy of Dermatology’s gel manicure tips for more.
The EU TPO Ban
Europe banned TPO, a gel hardening ingredient, from nail products on September 1, 2025. This does not mean gel polish is banned. Gel polish without TPO is still sold and used across Europe. If you live in the EU, check that any gel you buy says “TPO-free.”
Take Nail Breaks
Your nails do not need air, but they do benefit from a rest. Taking a week or two off between long-wear manicures gives you time to check your nails, trim them and treat any dryness with cuticle oil.
How to Make Any Nail Polish Last Longer
These steps work for every formula, from a cheap bottle to a salon gel.
- Start with clean, dry nails. Wipe each nail with rubbing alcohol or remover to take off oils and lotion.
- Push back your cuticles. Polish sticks to the nail, not to skin. Polish on skin lifts and peels.
- Always use a base coat. It is the glue that holds your color.
- Paint thin coats. Two or three thin coats beat one thick coat every time.
- Cap the free edge. Swipe the brush along the very tip of each nail. This seals the edge, where chips start.
- Finish with a top coat. Then add a fresh layer every two to three days.
- Wear gloves for chores. Hot water and soap break down polish fast.
- Don’t use your nails as tools. Use a coin or a key to open cans and peel stickers.
- Use cuticle oil daily. It keeps the nail flexible, and flexible nails chip less.
Common Nail Polish Mistakes to Avoid
- Shaking the bottle hard. This adds air bubbles. Roll the bottle between your hands instead.
- Blowing on wet polish. Your breath is warm and damp, which can make polish cloudy.
- Mixing gel and regular products. A regular top coat will not seal gel, and a gel top coat will not cure over wet regular polish.
- Using an old, thick polish. Thick polish goes on in clumps and peels. A few drops of nail polish thinner can bring it back. Do not use remover to thin it.
- Peeling off gel or dip. It takes the top layers of your nail with it.
- Storing polish in a hot or sunny place. Heat and light can change the color and thicken the formula. A cool, dark drawer is best.
Frequently Asked Questions About Types of Nail Polish
What is the longest-lasting type of nail polish?
The winners are builder gel and dip powder, which often reach the 3 to 4 week mark when the nails are prepped well. Gel polish comes next at about 2 to 3 weeks. Regular polish usually lasts about 5 to 7 days.
What is the difference between gel and regular nail polish?
Regular polish dries in the air and comes off with normal remover in seconds. Gel polish hardens under a UV or LED lamp, lasts about three times longer, and needs an acetone soak to remove. Gel also stays shiny longer and is fully dry the moment you finish.
Is dip powder better than gel?
Neither is better for everyone. Dip powder is stronger, lasts a little longer and needs no lamp. Gel is thinner, looks more natural and is easier to remove. Choose dip if you are hard on your hands. Choose gel if you want a thin, glossy finish.
Which nail polish is best for beginners?
Regular nail polish is the best place to start. It is cheap, needs no tools, and mistakes wipe away easily. Once you are comfortable, try long-wear polish for extra days of shine without a lamp.
Can you put regular polish over gel?
Yes. You can paint regular polish over a finished, cured gel manicure. This lets you change the color without removing the gel. When you want the new color gone, use a remover without acetone so the gel underneath stays in place.
Is gel polish bad for your nails?
Gel polish itself does not damage nails. The damage usually comes from peeling it off, filing too hard, or wearing it back to back for months. Soak it off gently, take breaks, and use cuticle oil to keep your nails healthy.
What is the difference between chrome and metallic nail polish?
Metallic polish is a bottled polish that looks shiny, like metal. Chrome is usually a powder rubbed over a cured gel top coat, and it gives a true mirror shine. Chrome looks more reflective and more even than metallic polish.
What type of nail polish is best for sensitive skin?
Clean regular polish with a short ingredient list is usually the gentlest choice. If you love gel, try a HEMA-free gel and make sure the product never touches your skin. If you have had a reaction before, speak with a dermatologist before trying any gel product again.
How many coats of nail polish should I use?
Most manicures use one base coat, two thin coats of color, and one top coat. Sheer jelly polishes may need three coats for full color. Very bright crèmes sometimes cover in one.
Final Thoughts
Every type of nail polish comes down to three choices. Pick a formula that matches how long you want your color to last. Pick a finish that matches the look you love. Then use the right base coat and top coat to protect your work.
If you are new, start with regular polish and a good top coat. If you want your nails to last for weeks, try gel or dip powder. If your nails are weak, builder gel or a strengthener can help them grow.
Most of all, be kind to your nails. Soak off long-wear products gently, keep gel off your skin, and give your nails a rest now and then. Healthy nails make every polish look better.
Sources
- U.S. Food and Drug Administration: Nail Care Products
- British Association of Dermatologists: Artificial nails warning and risk of at-home kits
- European Commission: Questions and answers on TPO in nail products
- Zhivagui, M. et al. (2023). DNA damage and somatic mutations in mammalian cells after irradiation with a nail polish dryer. Nature Communications
- American Academy of Dermatology: Gel manicures, tips to keep nails healthy
1 thought on “27 Types of Nail Polish: Every Formula, Finish and Coat Explained”